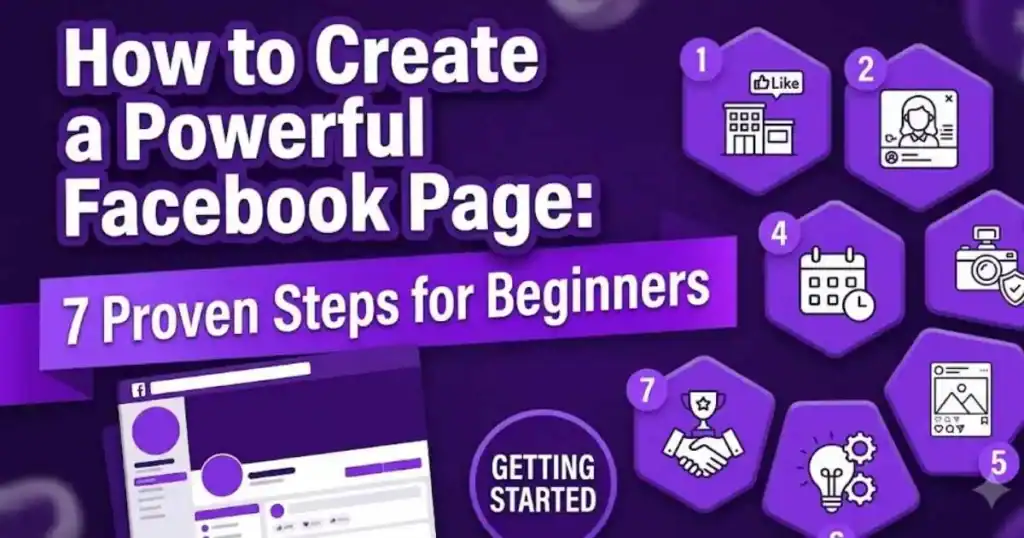
Starting a Facebook page can feel overwhelming. But here’s the truth: anyone can learn how to create a Facebook page. You don’t need technical skills or years of experience. You just need a simple plan.
In this guide, I’ll walk you through every step. By the end, you’ll have a professional Facebook page ready to attract followers and share your message.
Why Your Facebook Page Matters
Before we jump into the setup, let’s talk about why this matters. Your Facebook page is your home on the internet. It’s where your customers or followers find you. A good page builds trust. A bad page loses people immediately.
Think of your Facebook page like a shop window. If it looks messy and confusing, people walk past. If it looks clean and inviting, people stop and look inside.
Steps
Step 1: Create Your Facebook Account
First, you need a personal Facebook account. This is different from your page. Go to facebook.com. Fill in your name, email, and password. Verify your email. That’s it.
Don’t worry your personal account stays private. People won’t see it. Your page is what the world sees.
Step 2: Create Your Page
Now the real work starts. Once you’re logged in, click the menu icon in the top right corner. Look for “Create.” Then select “Page.”
Facebook gives you two options: Business or Community. Choose Business if you’re promoting a service or product. Choose Community if you’re building a group around an interest.
For most beginners, Business is the right choice.
Step 3: Pick Your Page Name and Category
Your page name is important. Choose something clear and memorable. Don’t use strange symbols or numbers. Use the actual name of your business or brand.
Next, pick a category. Facebook has hundreds. Choose the one closest to what you do. If you’re a fitness trainer, pick “Fitness Trainer.” If you’re selling products, pick “E-Commerce.” The category helps Facebook show your page to the right people.
Step 4: Fill Out Your About Section
This is where most people rush. Don’t. Your About section is the first place visitors read about you.
Write 2-3 clear sentences. Explain what you do and who you serve. Use simple language. For example:
“I teach people how to run Facebook ads. No experience needed. Join me and learn step by step.”
Not:
“Digital marketing solutions leveraging Facebook’s algorithmic framework for multi-channel engagement optimization.”
See the difference? One speaks to humans. One doesn’t.
Add your website link. Add your contact email. Add your phone number. Make it easy for people to reach you.
Step 5: Upload Your Profile Picture and Cover Photo
Your profile picture is tiny but important. Use a clear, professional photo. If you’re a person, use your face. If you’re a brand, use your logo.
Your cover photo is bigger. This is your headline image. Make it count. It should show what you do or what your brand is about.
For andromedatraining.com, the cover photo could show someone working on a laptop or a Meta Ads dashboard. Keep it clean. Keep it professional.
Don’t use random stock photos. Use something real and specific to your business.
Step 6: Write Your Welcome Posts
Now your page is live. Time to post something. Don’t stay silent. Welcome your first followers.
Post 2-3 times in your first week. Say hello. Explain what your page is about. Share something useful. Ask people to follow you.
Keep posts short. 1-3 sentences. Use simple words. Ask questions. “What’s your biggest struggle with Facebook ads?” People like answering questions.
Step 7: Set Up Your Messaging and Call-to-Action Button
Make it easy for people to contact you. Go to Settings. Find Messaging. Turn on “Messaging” so people can send you direct messages.
Add a Call-to-Action button. This button appears on your page. It could say “Contact Us,” “Learn More,” or “Sign Up.” Click the button, and people take action. They don’t get lost scrolling.
The Big Mistakes to Avoid
- Don’t post too much. 1-2 posts a week is enough when you’re starting.
- Don’t ignore messages. If someone reaches out, reply within 24 hours. Fast replies build trust.
- Don’t post random stuff. Everything you post should relate to your business or brand.
- Don’t use all capital letters. IT LOOKS LIKE YOU’RE YELLING. It’s annoying.
- Don’t ask people to like your page in every post. It’s desperate. Let people like your page because your content is good.
What Comes Next?
Your Facebook page is now live. You have the foundation. But a page without strategy is just a lonely space. You need to:
- Post regularly with valuable content
- Build a real community of followers
- Learn how to create a professional profile picture and cover photo
- Eventually, use Facebook Ads to grow faster
The next step is learning how to design a pro profile picture that stands out. Then you’ll learn how to create a cover photo that actually represents your brand properly. After that, you’ll master how to write posts that people actually engage with. Finally, you’ll be ready to learn Facebook advertising and scale your page with paid campaigns.
The Bottom Line
Creating a Facebook page takes 15 minutes. Creating an outstanding one takes intention. Every detail matters: your name, your photo, your words, your welcome posts. Take time. Get each part right.
Your page is your first impression. Make it count.
FAQ SECTION:
Q: Do I need a business license to create a Facebook page?
No. You can create a page without any legal registration. It’s free.
Q: Can I change my page name later?
Yes, but only 5 times every 30 days. Choose carefully the first time.
Q: What’s the best time to post on Facebook?
Evenings (6-9 PM) usually work best, but test what works for your audience.
Q: Should I use my personal profile or business page?
Always use a business page. It looks professional and has better tools.
Q: Can I delete my page after creating it?
Yes, but all posts and followers disappear forever. Only delete if you’re sure.

Your style is unique compared to other people I’ve read stuff
from. I appreciate you for posting when you have the
opportunity, Guess I’ll just book mark this page.
Thank you so much! I’m really glad you found the article helpful. I truly appreciate your support, and I hope you enjoy the upcoming posts too!